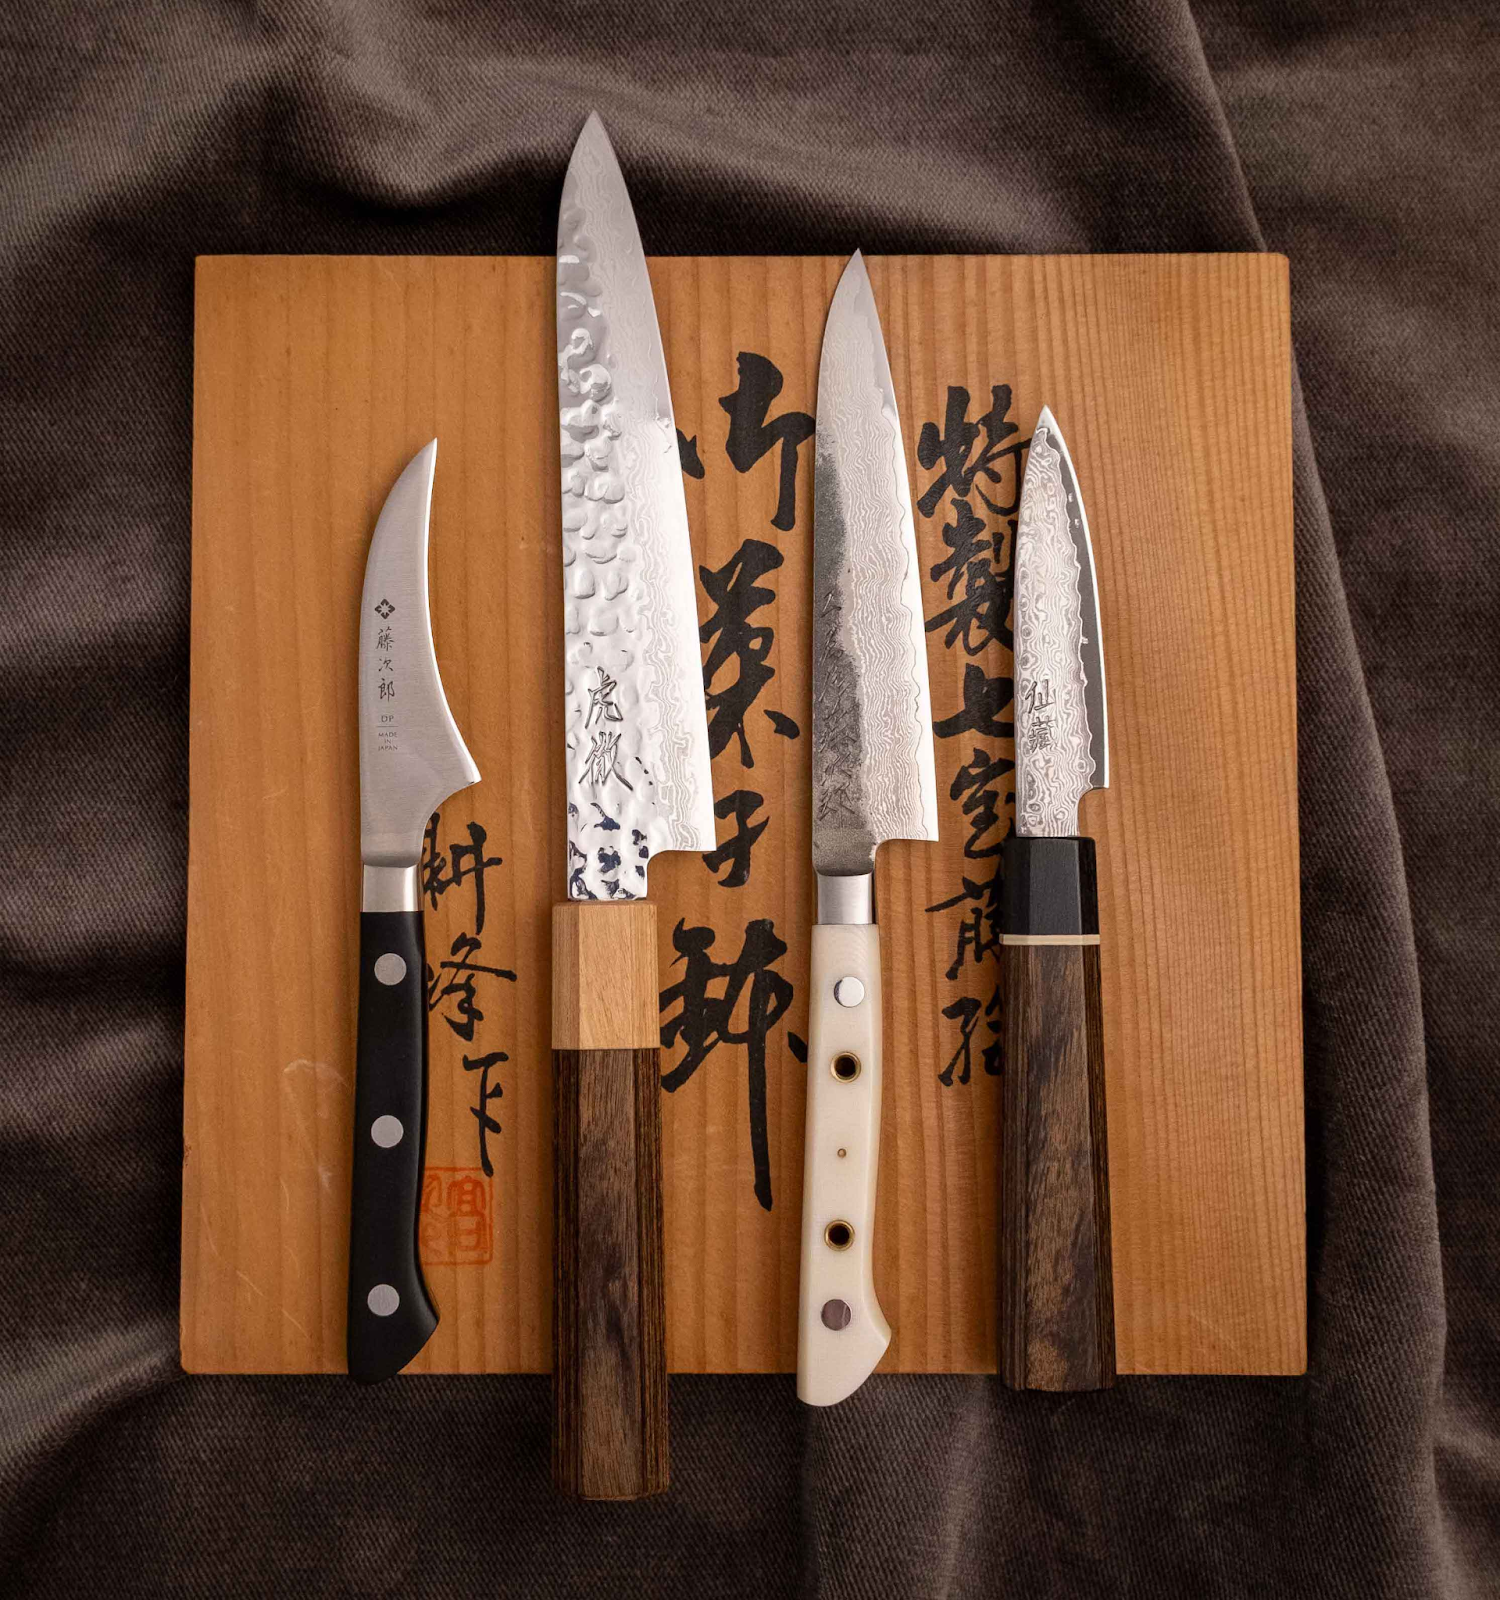
A good chef’s knife feels almost alive in the hand. Maybe you cook with a gleaming Japanese blade or a sturdy European model, but either way the edge needs your attention if it is going to stay safe and reliable. Let the blade slide into dullness, and youll spend far more time hacking through vegetables than you ever planned.
The tips that follow walk you through basic upkeep, giving the edge the fighting chance it deserves.
Gear to Gather Before You Start
You cannot tune a piano without a tuning fork; similar logic holds for knives. Assemble a short list of items, and the job becomes straightforward.
Honing Steel: This metal rod nudges the blade back into line every few sessions.
Whetstone: A good slab of grit puts a worn edge back where it should be.
Soft Rag: Keeps everything clean and stops moisture from sticking.
Knife Oil: A drop of mineral oil on carbon blades blocks rust, though stainless usually skips this step.
Block or Strip: A well-designed holder guards both the blade and your fingers when the knife rests.
Each piece of gear plays its part and keeps the cutting edge ready to slice through dinner before the pasta pot even boils.
Honing vs. Sharpening: What They Really Mean
If youve ever mixed up honing and sharpening, youre in good company. Both terms get tossed around in kitchen talk, yet they settle on very different jobs.
Honing
A good hone wont shave off a speck of steel, it just nudges the edge back into line. Do it nightly, or even right after slicing a tomato, and the blade stays straight.
Sharpening
Sharpening, by contrast, grinds away a whisper of metal to create a brand-new edge. Because of that steel diet, you stainless-steel fans should book it every two to three months.
Keeping the two in mind is like knowing the difference between brushing teeth and replacing a worn-out toothbrush. Either way your favorite French chef knife thanks you.
Step-by-Step Guide to Honing Your Knife
Honing takes barely longer than rinsing a plate, yet the payoff is instant. Heres how to lock in the habit.
Select the Right Angle
Most Western blades settle at about 20 degrees. Japanese models prefer a sharper 15, almost like resting the blade on a credit card.
Hold the Honing Rod Securely
Grip the handle with one hand, press the tip against the board so it wont skid. That stability means the steel glides true and the edge follows suit.
- Slide the Blade Along the Steel
Bump the heel of your knife gently against the top of the honing rod, then draw the edge down the steel in a smooth, even sweep. Keep the original angle in your wrist and follow that line; it usually settles around twenty degrees for most cooks. Flip the blade and repeat; four to six strokes per side is the sweet spot for everyday maintenance so the move never feels like busy work.
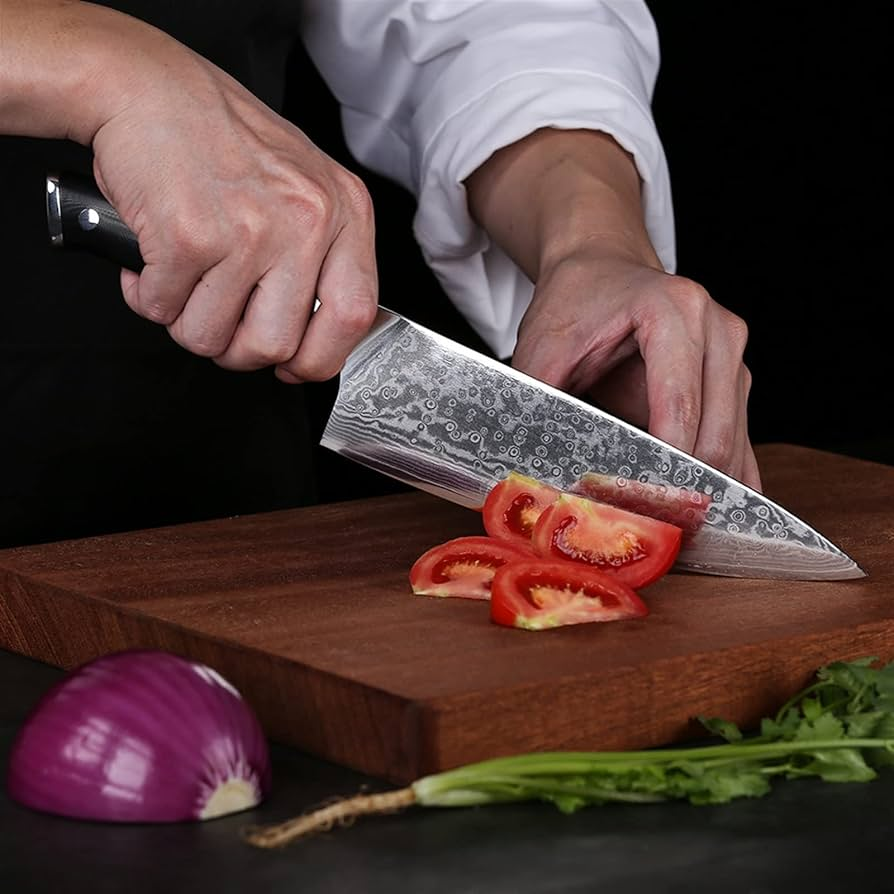
- Wipe and Test
Once youre done, run the blade under a soft cloth and slice through a magazine page or a ripe tomato, watching for that whisper-quiet glide. If the edge purrs through, the alignment held; if it snagged, the blade may need more love or a fresh start on the stone.
Step-by-Step Guide to Sharpening Your Knife
Edge dull from too many chopping marathons? A true, steady sharpening will put the bite back quicker than wishful stropping.
1. Prepare the Whetstone
Dunk the whetstone in water for ten or fifteen minutes. A thin, creamy slurry will form on the surface and keep the grit loose enough to reshape the edge without drag.
2. Secure the Whetstone
Set the stone on a rubber mat or a damp towel so it doesnt skid while you work. With the coarse side-grit around a thousand facing up-plant your feet square and brace your elbows.
3. Find the Correct Angle
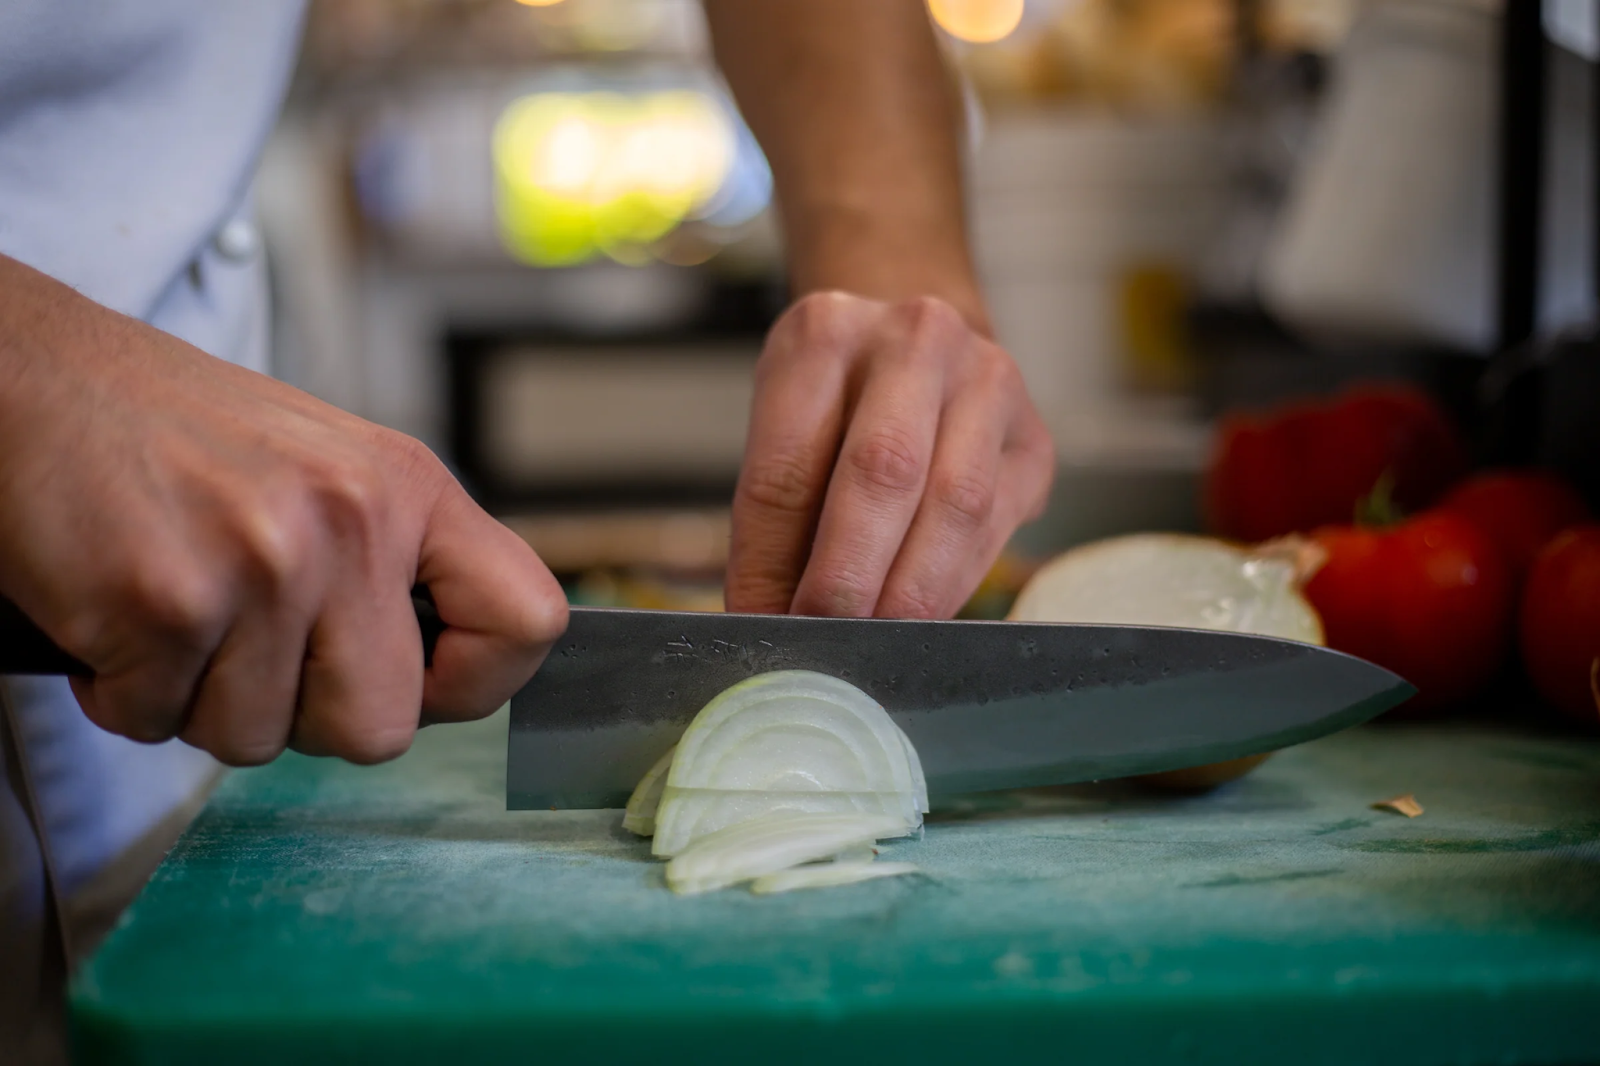
Hold the blade at the same angle it naturally sits against food, usually fifteen to twenty degrees for European knives, about fifteen for most Japanese steels. A quick trick is to rest the spine on your thumbnail and let the edge swing down until it kisses the stone; from there, keep that relationship honest.
4. Sharpen with Consistent Strokes
Scoop the blade down the whetstone as if you were peeling a sliver from its face. Keep the angle firm and the pressure steady. Eight to ten smooth passes on one side usually do the trick, after which you flip the knife and repeat. Finish by working the finer-grit side-most makers label it around 6000-until the edge gleams.
5. Clean and Dry Thoroughly
Wipe the edge, splash a little water on the stone, then tow both dry with a soft cloth. Water left sitting invites rust, and a speck on the blade will leave a mark on your next tomato. Knife Storage Tips
A blade tucked away properly stays sharp far longer than one left to rattle among soup spoons. Sturdy blocks and magnetic strips both keep the edge safe and look at home on a counter.
Plunging knives into a crowded drawer is a surefire way to nick the tips, slice your hand, and ruin dinner prep all in one go.
Thin plastic blade guards cost next to nothing, fit any shape, and save your fingertips if the knives need to ride along on a road trip.
Keep the Edge, Lift the Plate
Sharpening a chefs blade is not a tedious task; it is a quiet promise to the next meal. A steady edge glides through onion, chicken, and herb with little more than a flick of the wrist. A five-second hone after garlic, followed by a proper grind every couple of months, stretches both the steel and the cooks confidence.
Those who want to feel the difference can reach for Sakuto Knives. The Japanese maker pairs flawless geometry with a handle that seems to mold to the palm, so even maintenance turns into a small pleasure.